Four secrets for making great homemade latkes for Hanukkah
Learn some essential tricks for the perfect latke that Bubbe may have left out of her handwritten recipe
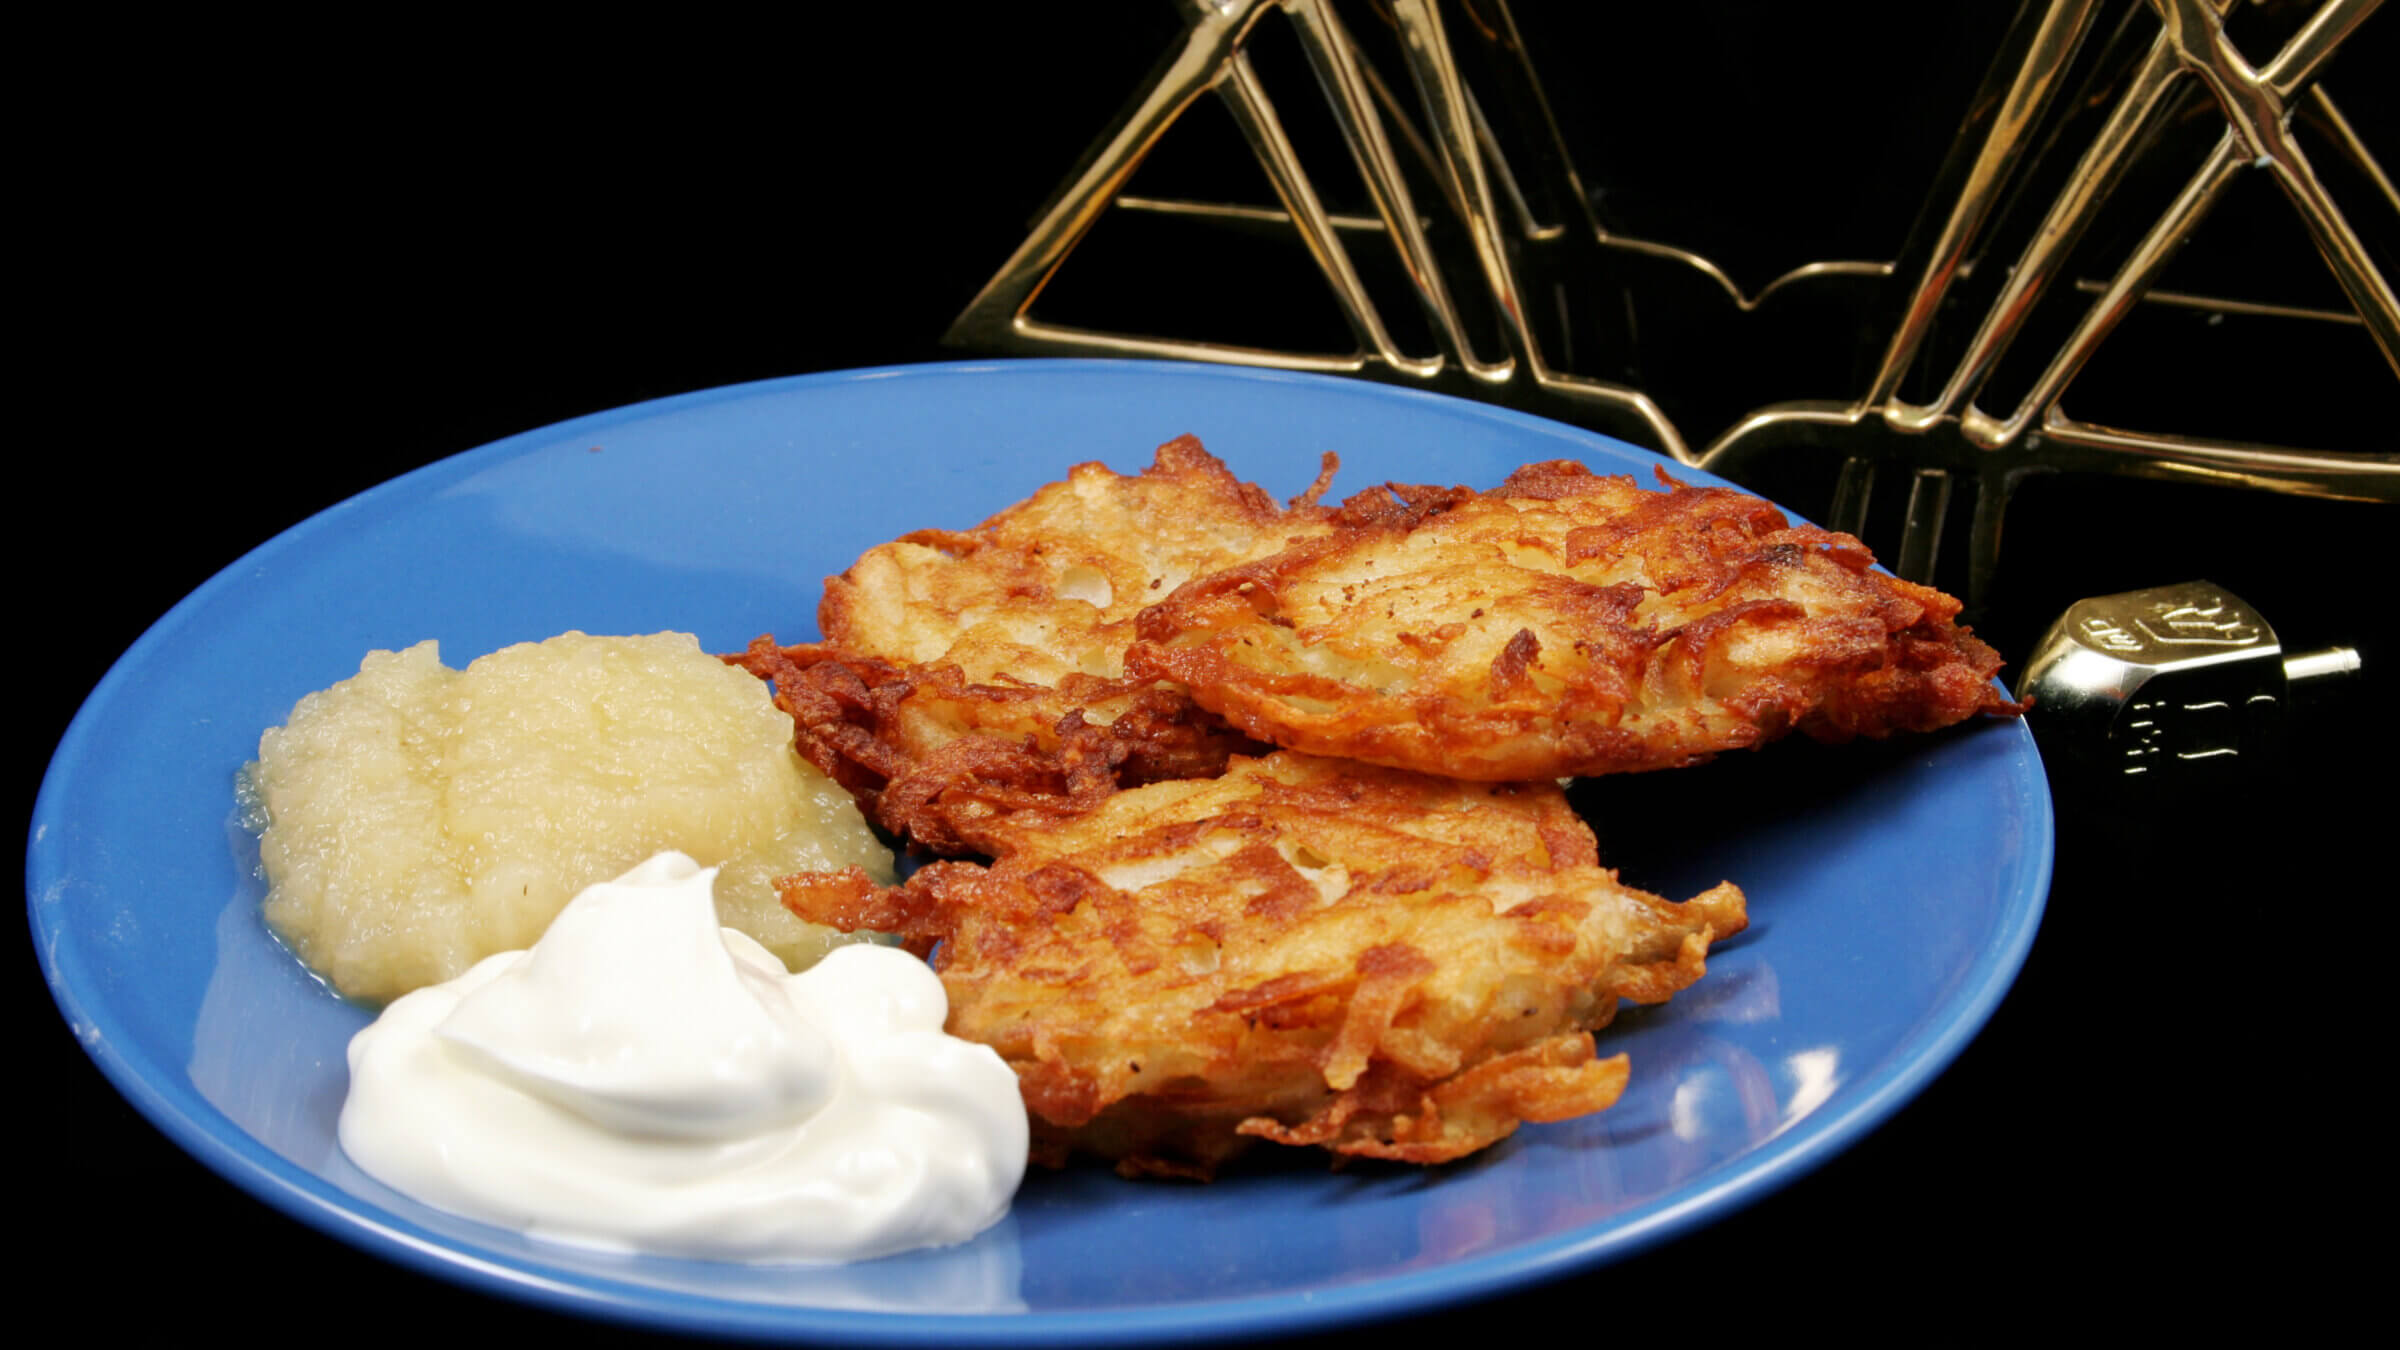
Potato latkes for Hanukkah, with applesauce and sour cream on the side. Photo by iStock
Editor’s note: This story was originally published in 2022. We are republishing it for the 2024 Hanukkah season.
I’m always surprised when friends say they can’t be bothered to make homemade latkes for Hanukkah. Takeout latkes or latkes from the frozen foods section or a mix never taste as good as latkes made from scratch. There’s nothing like a golden potato pancake served hot and crispy right out of the frying pan.
Besides, what’s so complicated? You shred 2½ pounds of potatoes (Idaho russet potatoes are ideal) and a yellow onion or two; combine with three eggs, a teaspoon or more of salt, pepper and ¼ cup of matzo meal or flour, then form the patties and fry.
But the prep and frying are time-consuming, and there are many pitfalls on the path to latke perfection. I should know: I learned the hard way — by screwing up. My mistakes also led me to discover four secrets to making great latkes. Here they are.
Pro tip No. 1: Don’t peel or shred those potatoes until you are ready to cook them.
Once when the first night of Hanukkah fell on a weeknight, I did my latke prep in advance. I figured that would make it faster to get dinner on the table for my hungry family when I got home from work. So I grated the potatoes the night before and refrigerated them overnight.
Unfortunately, once you peel, shred and expose a potato to air, it oxidizes and turns a sickly gray. My prepped potatoes were completely discolored! But I didn’t have time to start over, so I cooked what I had. Then I turned out the lights and we ate by the dim light of two menorah candles so nobody could see what the latkes looked like.
By the way, if you alternate grating the potatoes with grating the onions, mixing together as you go along, the onions slow down the oxidation of the potatoes.
Pro tip No. 2: Squeeze the moisture out of your potatoes and onions to keep them from falling apart.
The first time or two I made latkes, it was hard to keep them in one piece in the frying pan. But there’s an easy solution. Just wring the potatoes and onions out.
That’s right — after shredding them, but before adding other ingredients, take the potatoes and onions a handful at a time and squeeze them over the sink, as if you were wringing out a wet sponge. You won’t believe how much liquid comes out. Some recipes say you need cheesecloth or a fancy bag or gadget to do this. You don’t. Just use your hands. Put a colander in the sink to catch any bits of potato that pop out as you squeeze.
The eggs and matzo meal also help keep the latkes from falling apart. So after you’ve squeezed out the liquid and added the other ingredients, give the mixture a couple of minutes to bind.
By the way, there’s no secret to peeling and grating; not much room for blunder there. Most people use a peeler, but I’m faster with a small, sharp paring knife. (Some cooks don’t peel at all, but I don’t like dirty potato skins.)
As for shredding: box grater or food processor? If the potatoes are hand-grated, the shreds are coarser and the latkes will be lacier. (Perhaps you’ve heard it said that latkes aren’t authentic unless the cook nicks a knuckle or grates a fingernail along with the potatoes. OK, gross! But it happens.)
Using a food processor takes less time than grating by hand. I often use my Cuisinart (with the shredding disk), especially if I’m making a double batch of latkes for a party. If you have folks offering to help, slicing the potatoes and putting them in the machine is an easily delegated chore. Food-processed latkes turn out denser than hand-shredded, but I like them just as much.
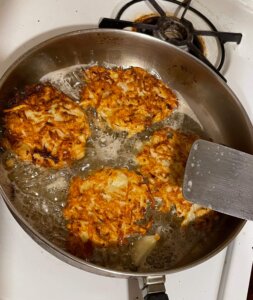
Pro tip No. 3: Getting the oil and the heat right matters — a lot.
I can’t say that I ever fried latkes in olive oil, but that’s because I’d already made that mistake frying chicken cutlets, so I knew it was a bad idea. Olive oil smokes and burns food at a lower temperature than other oils, and you don’t want to trigger the smoke alarm. (Been there.) So, use canola, corn or some other vegetable oil, and turn the heat up to moderately high. The oil must be hot enough to crisp and brown the latke exterior while at the same time cooking the inside through.
Once you get going and you’ve got all the latkes in the pan, that oil should be so hot that it bubbles.
You’ll also have better, faster results in a stainless steel or coated fry pan than a heavy cast-iron pan. Again, I know this from experience: I often have one batch going in my cast-iron pan and another in my trusty old Farberware pan. The results taste the same to me; it’s just trickier with cast iron because the pan is heavier and takes longer to heat up.
Heat the pan on high for a few seconds (count to 10) before you pour the oil. And don’t just coat the pan. Put in enough oil — maybe a quarter-inch deep — so that your latkes are about halfway immersed. The oil is hot enough when a droplet of water flicked into the pan sizzles.
If the oil isn’t hot enough, the latkes will take too long to cook, becoming greasy instead of crispy. (Yup, I’ve done that, too.)
Don’t flip until they’re golden brown on the bottom. If you can’t see the edges browning, they’re probably not ready; take a peek before you turn them over. Flip them too soon, and they could fall apart. And don’t crowd them. You might also have to notch the heat up a tad once the pan is full. Give yourself room to slide the spatula under each pancake without disturbing the others.
To shape the latkes and get them in the pan in one piece, I use a big serving spoon to scoop the mixture from the bowl. Sometimes I pat them with my hands before carefully sliding them into the hot oil.
Pro tip No. 4: Degrease and serve those latkes as fast as you can.
Set up a degreasing station in advance. Spread newspaper or a brown paper bag out on a counter, then cover with a layer of paper towels. As each hot, cooked latke comes out of the pan, lay it carefully on the paper towels. Press another paper towel on the top of each latke to sop up grease from that side, too.
Set the table (or have someone else do it) before you start cooking so you can serve the latkes immediately. You don’t want to be running back and forth for drinks, plates, applesauce and sour cream at this point. Trust me: Latkes taste better piping hot than when they’ve been sitting around for 15 minutes.
But there have been times when I couldn’t serve the latkes right away; guests were running late or some other problem needed tending. So I always preheat the oven to 375 and have a cookie sheet ready in case I need to keep them warm.
If I’m making more than one batch, I try to serve the first batch and make the second batch while the first batch is being eaten, rather than waiting until both batches are done. I usually have enough time to enjoy one latke myself at the table before that second round needs flipping.
By the way, I love latkes so much that I make them year-round, often with recipes that use sweet potatoes or other vegetables. There are vegan (eggless) versions as well. Putting latkes into your regular meal rotation is also a great way to practice your technique. That way, when Hanukkah rolls around, you’ll have mastered all the secrets to potato pancake perfection.

