Making Your Own Kosher Dills

Image by istockphoto
There’s nothing like crunching into a kosher dill pickle in the heat of the summer. If you’re a pickle fan, you probably know which local deli has the best ones and which restaurant routinely sets a bowl of them on the table, even before you’ve even ordered. But have you ever made your own?
With fresh local cucumbers in season and readily available, now is the best time to try it.
First we should get something straight. There is nothing inherently kosher about a dill pickle. Pickles are parve — they can be eaten with meat or dairy foods. “Kosher,” in this context, is a substitute for “Jewish” — as in “Jewish pickles,” so-called because they were popularized by immigrant Jews who knew how to make them from the old country (be it Ukraine, Poland, Lithuania or Russia) and sold them from pushcarts on the Lower East Side of New York City.
Their fame eventually spread across America where “kosher dill” means cucumbers fermented in a salt brine and flavored with garlic as well as dill. Commercial kosher dills, however — the kind you may see on a supermarket shelf — lack the flavor of the real thing.
All the more reason to try making your own.
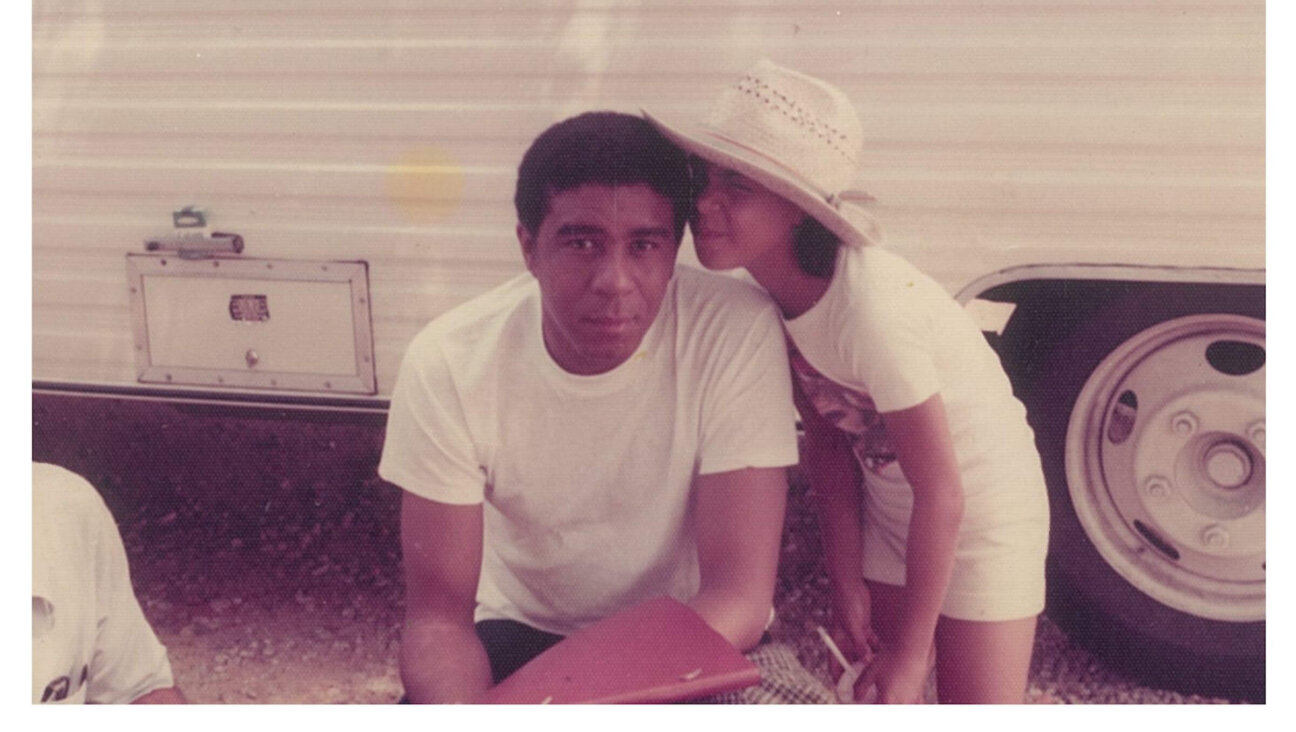
That’s what my husband, Jigs, did when we first started growing our own cucumbers in an expanding vegetable garden. It was a time when our self-reliant life was getting started and we wanted to do everything from scratch.
Whatever path you follow in life, if it includes growing cucumbers, you had better have a plan for using them when the vines start bearing prolifically in mid-summer. Jigs’ plan included turning some of our pickling cukes (as distinct from long, smooth-skinned slicers) into kosher dill pickles. (I became mistress of sweet pickles.)
A self-described “WASP,” whose 17th-century forbear, Peter Jenkin, was called the “handsomest man to make tracks on Nantucket Shore,” Jigs knew about kosher dills from his New Jersey youth and looked forward to duplicating them in our kitchen. He pieced together directions from two cookbooks, neither one of them having anything to do with Jewish cookery. From one, “The Wonderful World of Cooking” by E. H. Heth (1956), he learned about the dill crock. These directions, by a literary author and amateur cook, were rather breezy, charming in their way but short on details. (Instructions include lines like this: “… adding, if you wish, a small dollop of vinegar…”)
The other, more satisfactory book, was the classic “Pickles and Preserves” (1955) by Marion Brown. The recipes and directions, although gathered from across the country, were dominated by those from the South (the author was from North Carolina). I can tell by its splattered pages, especially those dealing with “Kosher Dill Cucumbers or Tomatoes,” that we consulted this book during the height of our efforts. The advantage of her directions is that she includes both a version for making dill pickles in a crock and for preserving them in canning jars for the winter months.
So here you are: authentic kosher dills straight from a WASP via an expert on Southern cuisine. These pickles have traveled a long way from their shetl origin to become an authentic American pickle. (The word “pickle,” by the way, was probably derived from the Middle Dutch pekel, meaning “pickle” or “brine”).
Jigs’ Kosher Dills in a Crock
Nowadays we use a 2-gallon Bennington crock, but when the children still lived with us we used a 20-gallon one and kept it in our cool root cellar. If you don’t have a crock, use a glass jar.
Note: These directions use an unheated brine, a method that turns the cucumbers into pickles fairly fast, but is not meant for storing them for any length of time.
1) Place a layer of fresh green dill sprigs in the bottom of a crock, add 3 or 4 peeled garlic cloves, a handful of black peppercorns and 2 tablespoons pickling spices. Add a layer of pickling cucumbers about 4 inches long, then a layer of fresh green dill, then cucumbers, and so on to within a couple of inches of the top.
2) Fill the crock with a brine made of 1 cup salt dissolved in 10 cups cold water with ¼ cup cider vinegar. Cover the cucumbers completely with grape leaves (this step is optional). Weight down the cucumbers with a ceramic plate so the brine completely covers them. Cover the crock and leave it on the kitchen counter. (You can add cucumbers, as they ripen, until the crock is filled, leaving enough room to add the plate to keep pickles submerged in brine. You can add a closed jar of water to sit on top of the plate as an added weight to help keep the cucumbers covered by brine if you like.)
3) Skim off the white fermentation skin every day or so. Sample pickles after a week. Eat them right from the crock — they’ll ripen day by day — then refrigerate them when you like their taste, to halt the fermentation process. It’s best to make small batches as you need them. I like them half sour; Jigs prefers them well done. The advantage of making small batches is that both preferences can be accommodated.
For crisp winter kosher dills, using either cucumbers or small fully green tomatoes, follow the directions below.
Canned Kosher Dill Pickles (or Green Tomatoes)
These directions are for 10 pounds of fresh green pickling cukes or green tomatoes. Downsize the amounts to suit your needs.
1) Wash and pack vegetables into scalded canning jars, leaving the cucumbers or tomatoes whole if possible. Otherwise, cut longer cukes lengthwise into spears and cut the tomatoes into halves or quarters. To each jar add 1 peeled garlic clove, 5 peppercorns, a large sprig of fresh green dill and a small pinch of hot dried pepper (optional).
2) Boil together 3 quarts water, 1 cup salt and 4 cups cider vinegar. As you keep the brine simmering, ladle it into one jar at a time, making sure the brine completely covers the cucumbers or tomatoes.
3) Seal jar at once with a hot, scalded wide-mouth canning jar lid, screwing the ring tight. Jars seal better if you only fill and seal one jar at a time with very hot brine.
4) Leave the jars on the counter overnight. As jars seal, you will hear a snap or see that the center of the lid has become convex. That means it is vacuum sealed. Store jars in a cool place away from light. Store any jars that haven’t sealed in the fridge.
Jo Ann Gardner lives in the Adirondacks where she and her husband maintain a small farm with extensive gardens. Her latest book is She blogs for about food for Mother Earth News. She can be reached via her website www.joanngardnerbooks.com
I’m personally matching all gifts to the Forward, up to $36,000. Can I match your gift now?

Hello, fellow Forward reader! I’m Joel Brown, a Forward reader and supporter for more than 15 years, and currently the chair of the board of directors.
I’m an avid Forward reader because it ticks so many of my essential boxes: excellent journalism, Jewish focus and diverse viewpoints. In today’s political climate, what I most appreciate is the Forward’s independence — made possible by the generosity of its membership.
The Forward is committed to bringing you unbiased, nuanced Jewish news. From my position as board chair, I see an exciting future as we expand our position as the definitive independent voice of contemporary American Judaism.
— Joel Brown, Forward board chair
Support our mission to tell the Jewish story fully and fairly.